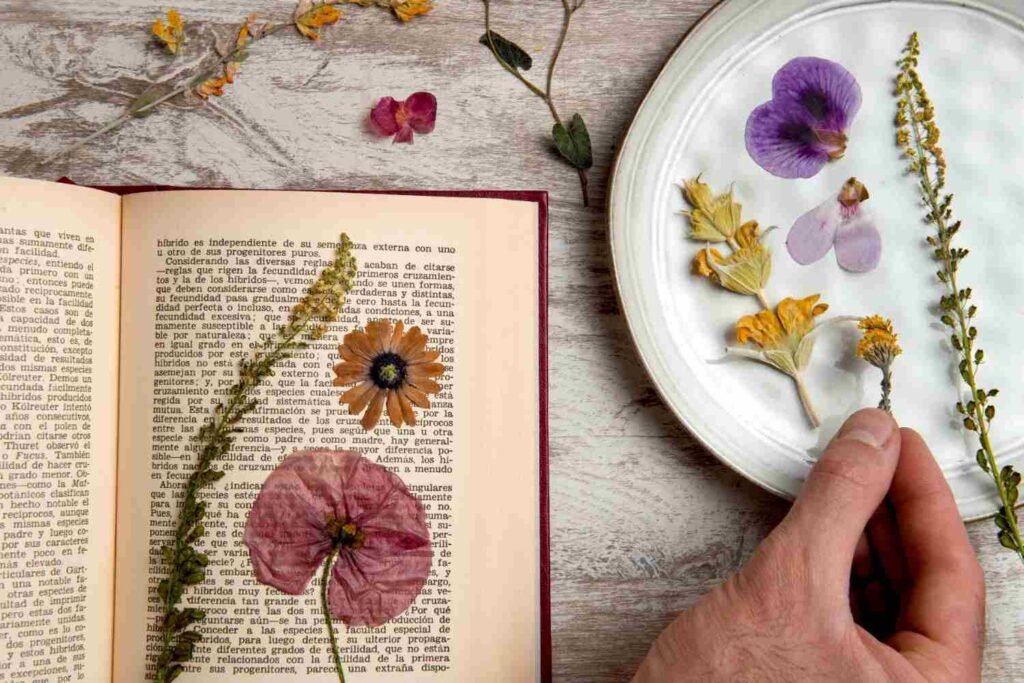
Pressing flowers in a book is one of the oldest, cheapest, and most satisfying ways to preserve a bloom that matters to you. A single heavy volume, some absorbent paper, and about two to four weeks of patience: that’s genuinely all it takes. If you’ve ever tucked a flower between pages and pulled it out weeks later to find a brown, crumbling mess, you didn’t fail at the concept.
You just skipped a few details that make the difference between a crispy disappointment and a print-ready pressed specimen. This guide covers every one of those details, from choosing the right flowers to storing the finished pieces so they last for decades.
Why Pressing Flowers in a Book Still Works Better Than You’d Think
Small press creators, zine makers, and botanical illustrators have been pressing flowers this way for centuries, and the method keeps showing up in contemporary small press publishing because it produces results that photography alone can’t replicate. The texture, the translucency, the slight vein detail in a pressed petal: those qualities land on a printed page in a way that feels genuinely handmade, because they are.
The book method works because heavy pages apply even, sustained pressure across the entire flower surface while the paper simultaneously wicks moisture away. That combination is what prevents mold and what locks in color. A flower press does the same thing with wing nuts and wooden boards, but a thick dictionary does it just as well with zero additional cost. My personal preference is always a large art reference book with uncoated pages, because the paper breathes slightly better than glossy stock.
Before diving into the process, here’s a quick look at how pressing times and outcomes vary depending on the flower you choose:
| Flower | Average Press Time | Color Retention | Difficulty
|
|---|---|---|---|
| Viola / Pansy | 2 to 3 weeks | Excellent | Beginner |
| Larkspur | 2 to 3 weeks | Very Good | Beginner |
| Queen Anne’s Lace | 3 weeks | Good (cream/ivory) | Beginner |
| Cosmos | 2 to 3 weeks | Very Good | Beginner |
| Rose (petals only) | 3 to 4 weeks | Good (fades slightly) | Intermediate |
| Hydrangea (florets) | 3 to 4 weeks | Good | Intermediate |
| Buttercup | 2 weeks | Excellent (bright yellow) | Beginner |
Best Flowers for Pressing: What to Pick and What to Skip
The best flowers for pressing share one quality: they’re relatively flat and low in moisture. That’s the whole game. Thick, fleshy flowers like dahlias and carnations hold so much water that by the time the outer petals dry, the center is still wet enough to mold. Flat or single-layer flowers dry evenly, which means they press cleanly.
Violas and pansies are the absolute gold standard for beginners learning how to press flowers in a book. They’re flat, small, colorful, and abundant in most gardens from spring through early summer. Larkspur, cosmos, and Queen Anne’s Lace are close seconds. Ferns and leaves press beautifully too and make excellent background material for botanical compositions in zines and art books.
Flowers to avoid, at least until you’re comfortable with the process:
- Dahlias (too bulky in the center)
- Carnations (densely layered petals trap moisture)
- Tulips (waxy petals don’t absorb well)
- Orchids (beautiful but moisture-heavy and prone to browning)
Roses sit in the middle. Press individual petals and they come out gorgeous. Try to press a full rose bud and you’ll get mold every time. Separate the petals and press them individually, then reassemble the arrangement on your finished page. That’s a technique worth knowing.
How to Press Flowers in a Book: Step-by-Step
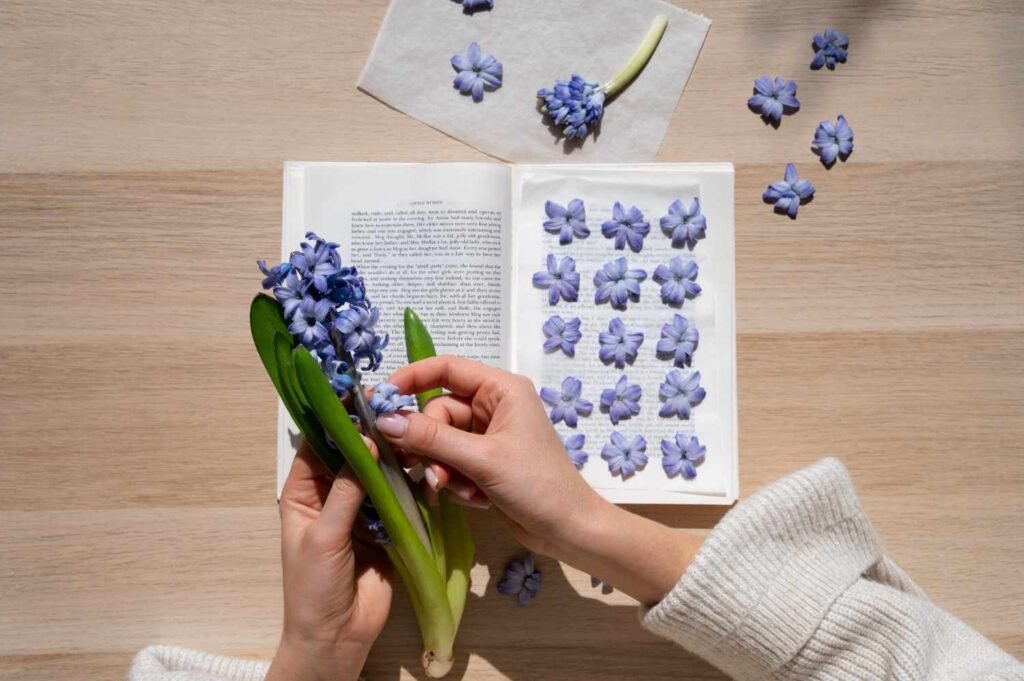
This is the section to bookmark. These steps are in the exact order they matter, not the order that sounds impressive.
Step 1: Pick at the right moment. Harvest your flowers mid-morning, after any dew has dried but before the afternoon heat stresses the petals. Choose blooms that are fully open but not past their peak. A flower that’s already dropping petals at home will press with gaps. Pick it a day or two before it’s fully open for the best results.
Step 2: Prep the flower. Shake off any insects. Snip the stem as close to the base of the flower as you can. If the flower has a thick center, like a black-eyed Susan, consider pressing it face-down so the raised center is compressed directly against the paper rather than arching away from it.
Step 3: Choose your book. A large, heavy book works best. A dictionary, an old encyclopedia volume, or a thick art catalog all work. Avoid books with very glossy pages; they don’t absorb moisture and you’ll need to add extra absorbent layers between the pages.
Step 4: Prepare your flower pressing paper. This is a step most people skip and then wonder why their flowers get blotchy. Flower pressing paper doesn’t have to be anything fancy. Plain newsprint, watercolor paper, or even coffee filters work because they’re porous and absorb moisture quickly. Cut two pieces slightly larger than your flower. Plain white copy paper is acceptable but slower. Avoid wax paper entirely; it seals moisture in rather than pulling it out.
Step 5: Place the flower. Open your book to somewhere in the middle. Lay one sheet of your absorbent flower pressing paper on the page. Arrange your flower face-down on the paper, then lay the second sheet on top. Close the book gently but firmly.
Step 6: Add weight. Stack two or three additional heavy books on top. This matters more than most tutorials admit. The pressure in the first 48 hours is what flattens the flower before it dries in a misshapen position. Keep the stack stable and in a dry, warm room away from direct sunlight.
Step 7: Change the paper in the first week. After 48 to 72 hours, carefully open the book and swap out the absorbent paper for fresh dry sheets. The original paper will have absorbed a significant amount of moisture from the flower. Fresh paper keeps the drying process moving and dramatically reduces the chance of mold. After that first change, you can leave the flower undisturbed until it’s ready.
That’s the full process for how to press flowers in a book. Seven steps. You can do the whole setup in under ten minutes.
How Long to Press Flowers in a Book
The most common question, and the one with the most variable answer. How long to press flowers in a book depends on the flower’s moisture content, the absorbency of your paper, the humidity in your home, and how much weight you apply.
As a general rule: most flat, single-layer flowers are fully pressed and dry after two to three weeks. Thicker flowers or ones with a high water content need three to four weeks. How long do pressed flowers take to be truly ready? Longer than most people expect. Rush the process by checking too early and you risk tearing petals that are still slightly pliable and stuck to the paper.
A reliable test: slide a corner of the absorbent paper gently. If the flower moves with it, it needs more time. If it releases cleanly and feels papery dry to a very light touch on the edge, it’s done. The center of thicker flowers will always be the last to dry, so judge by the thickest point, not the petals.
“Patience is the whole technique with pressed flowers. Two weeks minimum for most blooms, and change that paper after the first two days or you’re just asking for mold.”
Anne Searle, botanical artist and contributor to the Botanical Society of Britain and Ireland’s pressed plant documentation project, in a workshop recorded by the Botanical Society of Britain and Ireland.
How to Dry Flowers in a Book Without Mold or Browning
Mold and browning are the two enemies of good pressed specimens. They have different causes, and once you know that, avoiding both becomes straightforward.
Mold happens when moisture can’t escape fast enough. That’s why how to dry flowers in a book properly is almost entirely about paper choice and early paper changes. Humid environments make this worse. If you live somewhere with high summer humidity, press flowers in an air-conditioned room, or run a small dehumidifier nearby. Silica gel packets tucked near (not touching) the press help too.
Browning is usually a light issue. Pressing flowers in direct sunlight doesn’t speed things up in a useful way. It bleaches and browns petals, especially purple and pink ones, faster than you’d think. Press in indirect light or a dark closet. Vibrant yellow and blue flowers hold color best. Pink flowers fade more than they seem like they should, and red flowers often shift toward an earthy brown over time, which can still look beautiful in a botanical composition but isn’t the fire-engine red you started with.
One solid tip that genuinely works: press flowers between sheets of watercolor paper rather than copy paper. Watercolor paper is more absorbent per square inch, and its slight texture prevents petals from sticking as they dry. You’ll get cleaner releases and fewer torn edges. This is probably my single most-used pressed flower tip for anyone publishing pressed specimens in zines or art books.
How to Press Flowers Fast: The Microwave Method
If you need results faster than two weeks, there’s a legitimate shortcut. How to press flowers fast using a microwave is a real technique used by botanical artists on deadline, and it works reasonably well for flat flowers like violas and cosmos.
Place the flower between two sheets of absorbent flower pressing paper. Put that sandwich between two ceramic tiles (which you can find at any hardware store). Microwave in 30-second bursts on medium power. Check after each burst. Most flat flowers are done in 60 to 90 seconds total. Thicker flowers need more time but also more risk of scorching.
The color retention with the microwave method is generally slightly worse than slow pressing. You also occasionally get uneven drying where the petals are crisp but the center is still soft. That said, for quick-turn zine production or a last-minute collage, it’s a perfectly usable method. Just let the flower cool completely on the paper before handling it.
The Royal Horticultural Society notes that rapid drying methods can produce usable specimens, though they caution that archival-quality preservation is better achieved through traditional slow pressing. For art and publishing purposes where longevity beyond a few years isn’t the primary goal, fast methods are entirely adequate.
How to Press Flowers Without a Press (Book Alternatives)
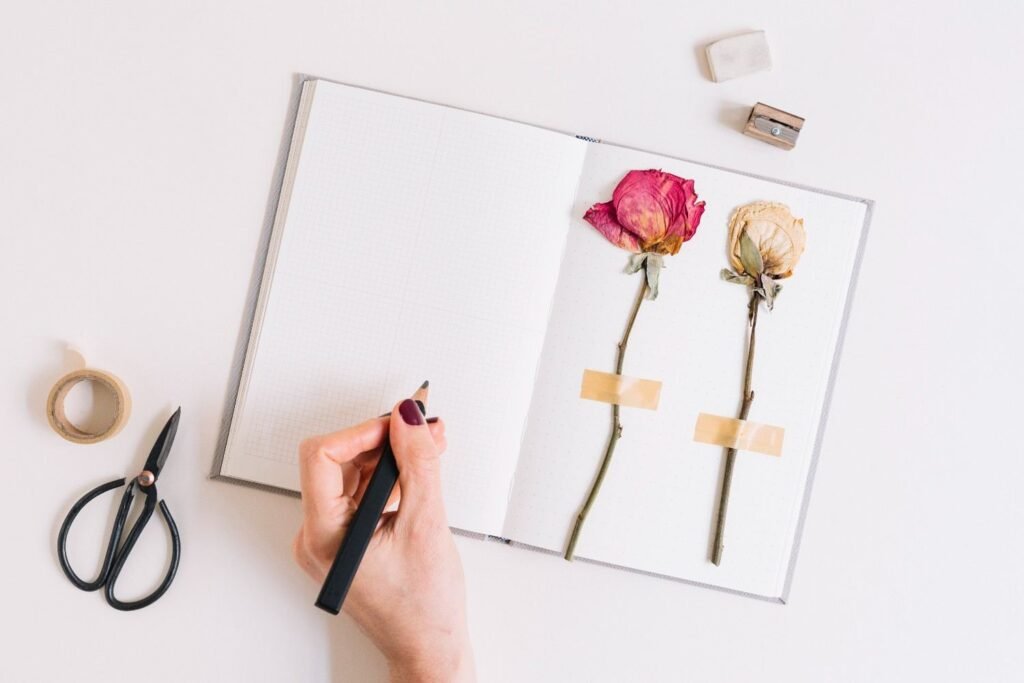
The book method is the classic answer to how to press flowers without a press, but there are a few other approaches worth knowing for situations where a heavy book isn’t available or practical.
A simple stack of heavy catalogs works exactly the same as a single large dictionary. Layer the catalogs with the flower between absorbent sheets inside the middle one, then stack the rest on top. More weight means faster initial flattening, and faster flattening means better shape retention.
A wooden cutting board with binder clips and absorbent paper is another option that applies surprisingly even pressure. Place the flower on absorbent paper on the board, cover with another piece of paper, lay a second board on top, and clamp the edges with large binder clips. Check after 24 hours and refresh the paper.
Iron pressing is the fastest non-microwave method. Place the flower between two pieces of parchment paper and press a warm (not hot) iron over it for 10 to 15 seconds. Repeat after the paper cools. This works best for very flat flowers and gives you a pressed specimen in minutes, though the texture is slightly different from slow-pressed flowers.
The petals tend to be flatter and more uniform, which some small press artists prefer for collage work. That attention to landscape, natural detail, and material texture can also complement an interest in regional literature of the united states, where place often plays a defining role in shaping voice and atmosphere.
How to Preserve Flowers in a Book and Keep Them Long-Term
Getting a flower pressed is step one. Knowing how to preserve flowers in a book and then how to store or use them after pressing is what separates specimens that last decades from ones that crumble within a year.
The biggest enemy of pressed flowers after they leave the book is humidity. Moisture from the air causes pressed petals to reabsorb water, go limp, and eventually mold or discolor. So how to preserve pressed flowers long-term comes down to two things: sealing and storage.
For display pieces or items being mounted in a journal or scrapbook, a thin layer of Mod Podge or a professional botanical sealer applied with a soft brush will lock the petals in place and add a small amount of moisture resistance. Let it dry completely between coats. Two thin coats are better than one thick one.
For storage, keep pressed flowers in a sealed container with silica gel packets. A flat plastic container with a tight lid works well. Layer the flowers between sheets of acid-free tissue paper. Store in a cool, dark location. A drawer in a low-humidity room is ideal. Avoid basements and attics, which both have significant humidity swings through the seasons.
According to resources from the Smithsonian Institution, pressed botanical specimens stored in acid-free, low-humidity conditions can remain stable for well over a century. That’s not just for museum collections. It’s achievable at home with basic materials.
How to Press Flowers at Home: Tips for Small Press and Zine Creators
If you’re making zines, handmade books, or small press publications, pressed flowers are a genuine design asset. The question of how to press flowers at home and then translate those specimens into reproducible print elements is one that comes up constantly in small press communities.
The most direct approach is to scan pressed flowers at high resolution (600 dpi minimum) on a flatbed scanner. Place the flower directly on the glass, then lay a piece of white cardstock over it for a clean background. The scan will capture the translucency and texture in a way that photography, even with good lighting, usually doesn’t. Those scans can then be used in print layouts, repeated, layered, and adjusted in any image editing application.
For physical inclusion in limited-edition zines, press flowers slightly thinner than you think you need and seal them before mounting to the page. This keeps them from tearing when the zine is handled. Double-sided tape under the center is usually enough to hold a small viola or larkspur without adhesive spreading onto the petals visibly.
A few practical pressed flower tips specific to small press production:
- Press more flowers than you think you’ll need. You’ll lose about 20% to tearing, uneven drying, or color disappointments.
- Press flowers in batches by size and type. Flowers of similar thickness dry at the same rate, which makes paper-change timing easier.
- For covers, scan and print rather than mounting the actual flower. Real pressed specimens on covers get damaged quickly in handling.
- Keep a dated pressing log. Knowing exactly when each batch went in makes it easy to check at the right time without over-handling.
How to Press Flowers in a Book: Common Mistakes and How to Fix Them
Even experienced pressers run into the same problems repeatedly. Here’s what goes wrong most often and exactly what to do about it.
Petals stick to the paper. This almost always means the paper wasn’t absorbent enough or the flower had more moisture than expected. Switch to watercolor paper or coffee filters. Let the flower sit a few more days before attempting to peel it. Slide a thin palette knife or a piece of dental floss underneath the edge to release it rather than pulling from the petal itself.
Flower pressing paper stuck to petals leaves marks. This happens with copy paper, which has a slight clay coating. Plain newsprint or coffee filters solve this. Once you’ve tried pressing on watercolor paper and seen how cleanly the specimens release, you won’t go back to copy paper.
Colors faded dramatically. High moisture content and slow drying are the main culprits. Change the paper more frequently in the first week. If color retention matters a lot for your project, stick to yellow and blue flowers, which hold color best. Pink and red flowers fade faster and it’s somewhat unavoidable with the book method. The microwave method gives slightly better color on fading-prone flowers because the drying happens so fast.
Mold appeared. If you catch it early, remove the flower, replace all the paper, and get the specimen into a drier environment immediately. If the mold is surface mold on the paper and hasn’t reached the flower, you can sometimes save the specimen. If the flower itself has fuzzy mold growth, it’s lost. Start over and change your paper within 48 hours next time.
The Royal Botanic Gardens at Kew maintains one of the world’s largest collections of pressed plant specimens and their conservation guidance consistently emphasizes the importance of low humidity and regular paper changes in the early drying phase. That guidance translates directly to home pressing, even for decorative rather than scientific purposes.
How to Press Flowers in a Book Explained: A Quick Reference Checklist
For anyone who wants the short version of how to press flowers in a book explained in one place, here’s the complete process as a practical checklist. This covers both first-timers and anyone who needs a refresher before starting a batch for a publication project.
- Harvest flowers mid-morning on a dry day, fully open but not past peak.
- Remove stems and any extra foliage. Prepare thick flowers by pressing face-down or separating layers.
- Cut two sheets of absorbent flower pressing paper (watercolor paper, coffee filters, or newsprint) slightly larger than the flower.
- Sandwich the flower between the two absorbent sheets.
- Place the sandwich in the middle section of a heavy book with uncoated pages.
- Stack two to three additional heavy books on top.
- Store in a warm, dry room away from direct sunlight.
- After 48 to 72 hours, replace the absorbent paper sheets with fresh dry ones.
- Leave undisturbed for two to four weeks depending on flower type.
- Test for dryness by gently sliding the paper. If the flower releases cleanly and feels papery, it’s done.
- Seal finished specimens with a thin coat of botanical sealer or Mod Podge if mounting for display.
- Store unused specimens in a sealed container with silica gel packets, layered in acid-free tissue paper.
That’s the complete loop, from garden to finished specimen. How to press flowers at home doesn’t require any special equipment beyond what most people already have, and the results genuinely hold up. Small press artists who work with pressed flora regularly know that the analog quality of a real pressed petal brings something to a page that a printed flower graphic never quite matches.
That same sensitivity to texture, decay, atmosphere, and the natural world can also make southern gothic literature for beginners an interesting parallel for readers exploring how physical detail helps create mood and meaning.
One final thought: if you’re new to pressing and not sure which flowers to start with, grow or buy a flat of violas this season. Press a dozen at once. The learning curve for that specific flower is almost zero, the color payoff is excellent, and you’ll have a solid understanding of the whole process, including timing, paper choice, and what a properly dried specimen feels like, before you move on to more challenging blooms.
That same patient attention to place, texture, and seasonal detail can also deepen your appreciation of pacific northwest writers to read, many of whom draw heavily on landscape and the natural world. The rest of it builds naturally from there.